How to display an outfit without a mannequin?
You don’t need a mannequin to make an outfit look intentional, complete, and “worth stopping for.” Whether you’re styling a corner of your room, setting up a rack for a pop-up, or photographing pieces to sell online, the trick is simple: support the garment in the right places (shoulders, waist, hems) and remove visual clutter around it.
Below are reliable, low-cost ways to display an outfit—top + bottom + shoes + accessories—without owning a full mannequin.
1) Start with your goal (it changes the setup)
Before you pick a method, decide what you want the display to do:
- Look good in-person (bedroom, closet, studio, shop)
- Photograph well (online listings, lookbooks)
- Store and organize while staying visually appealing
A “great photo” setup is often different from a “great in-room” setup.
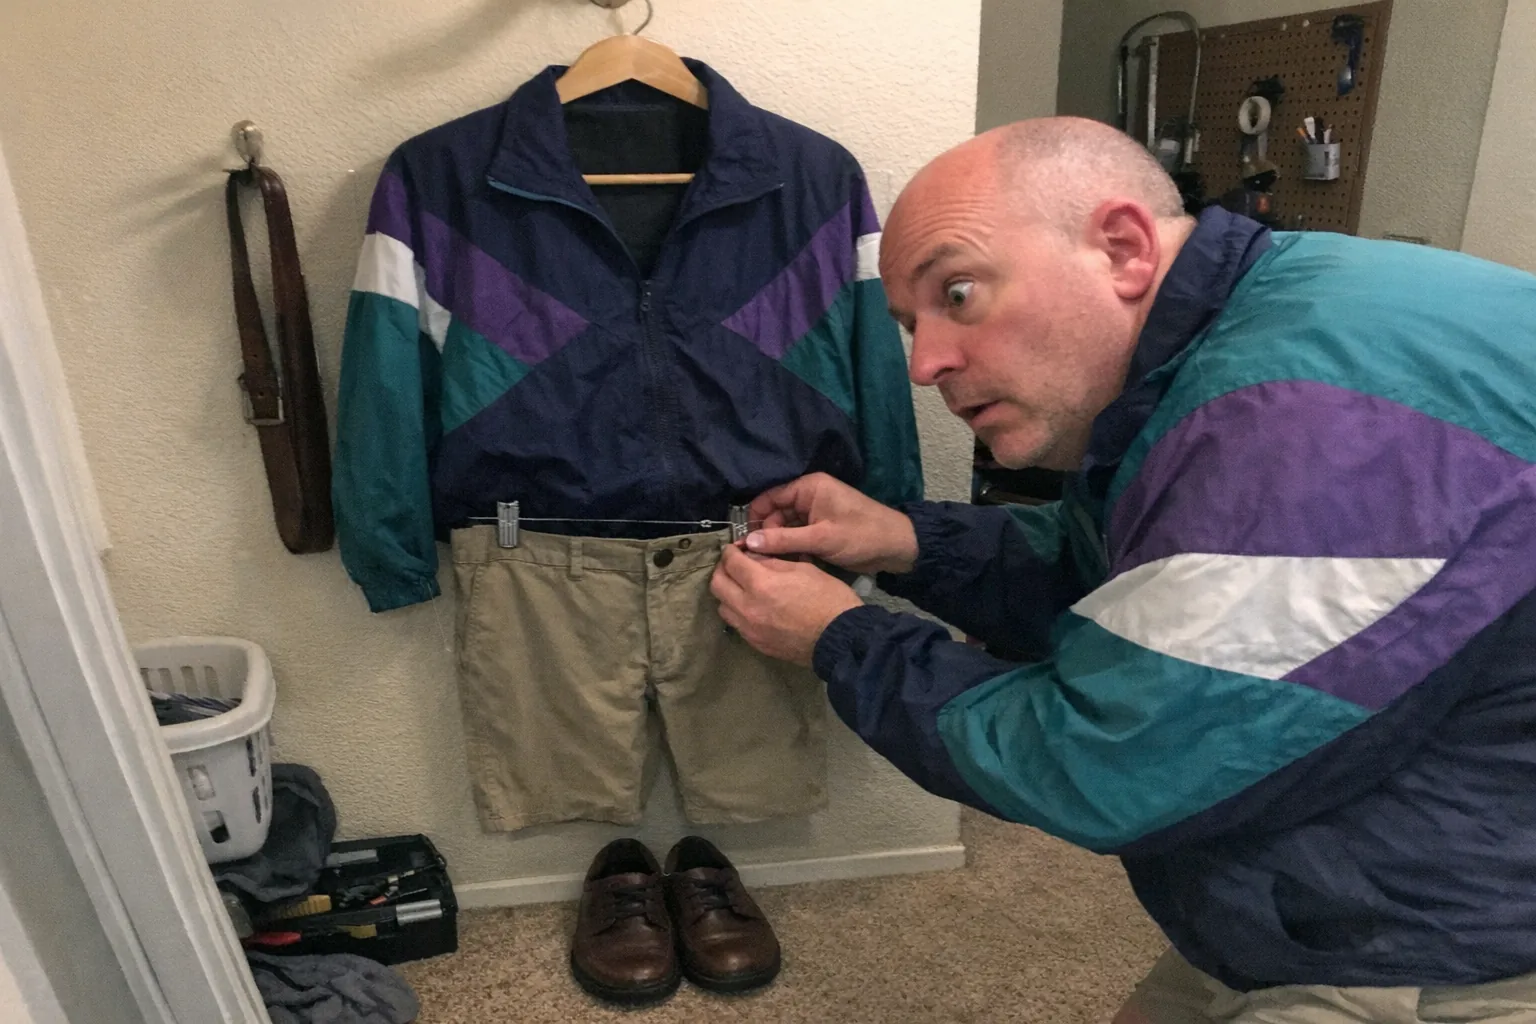
2) The easiest option: the elevated hanger display (wall or rack)
If you only do one thing, do this.
What you need: - A good hanger (wide-shoulder or velvet) - Removable wall hook (or a rack) - A clip hanger for pants/skirts
How to make it look styled (not like laundry): - Use a structured hanger for tops/jackets so shoulders don’t collapse. - Clip pants/skirts so the waistband sits directly under the top hem. - Add one accessory on purpose (belt draped neatly, scarf folded, bag hung beside).
Pro tip: Keep the outfit “one unit.” Your eye should read it as a single silhouette.
3) Flat-lay (best for photos, surprisingly good for sets)
Flat-lays aren’t just for Instagram—they’re a clean, mannequin-free way to show an outfit.
What you need: - A plain background (sheet, foam board, rug) - Good overhead light (window light works)
How to level up a flat-lay: - Smooth wrinkles and align seams. - Build shape using tissue paper or small towels under key areas (collar, sleeves, waistband) so it doesn’t look “dead.” - Place shoes at a slight angle and keep accessories in a tight cluster.
4) The “floating outfit” method (invisible supports)
This is a classic trick for displays and listing photos.
What you need: - Fishing line (or thin clear thread) - Small safety pins / clips - A hanger or a ceiling hook
How it works: - Hang the top normally. - Use fishing line to tension sleeves outward (so they don’t hang limp). - Pin/clip pants to sit at a natural waist position. - Pull the silhouette slightly “open” so the outfit reads clearly on camera.
It’s not magic—it’s just controlled tension.
5) DIY “torso form” (cheap mannequin effect)
You don’t need a full mannequin to get structure. A torso is often enough.
Good DIY torso options: - Padded hanger + stuffed shoulders (polyfill, towel, or bubble wrap) - Foam board torso cutout (front only) behind the shirt - Cardboard box + padding to simulate chest/waist volume
Why it works: shoulders and chest shape do 80% of the visual work for tops, jackets, and dresses.
6) PVC pipe frame (best for pop-ups and semi-permanent setups)
A simple PVC “T-frame” can hold a hanger and create a clean, storefront-style look.
What you need: - PVC pipe + elbows (hardware store) - Optional: a base board or sandbag for stability
Why it’s great: - Freestanding (no wall damage) - Breaks down for transport - Gives your outfit a dedicated “stage”
7) Pegboard / grid wall styling (high-impact, modular)
Pegboards and grid walls are underrated for outfit display.
How to use it: - Hang the top on a centered hook - Clip pants beneath - Add a side hook for bag/jewelry - Add a small shelf for shoes
This creates a “merchandising wall” effect—organized, intentional, and easy to refresh.
8) The ladder rack / leaning rail (small space-friendly)
A leaning ladder rack can display: - A hanger outfit on one rung - Shoes on the bottom rung - Bag/scarf on a side hook
It reads like decor, not storage.
9) Shadow boxes and frames (for accessories that complete the outfit)
If you’re displaying the outfit as a “story,” accessories deserve their own mini stage.
Use: - Shallow shadow boxes for jewelry - Frame-back boards for pins, ties, scarves - Small shelves for shoes
A mannequin isn’t the only way to show “the whole look.”
10) Clear garment bag display (surprisingly clean for closets)
For a closet or studio corner, a clear-front garment bag keeps the outfit protected while still visible.
Make it look curated: - Steam first - Include belt/scarf inside (neatly folded) - Put shoes directly below the hanging outfit
Outfit-specific tricks (so it doesn’t look floppy)
Dresses
- Use a wide-shoulder hanger.
- Clip the waist slightly inward (hidden clips on the back) to suggest shape.
Pants and skirts
- Clip at the waistband, not the hem.
- If the fabric collapses, add a small rolled towel inside the waistband to round it.
Jackets and outerwear
- Stuff the shoulders lightly to avoid “empty coat” syndrome.
- Zip/button halfway to give structure.
Shoes
- Angle them slightly outward (toe-to-toe is less dynamic).
- If photographing, wipe soles/edges—small detail, big impact.
Quick photo tips (if you’re selling online)
- Use window light and turn off overhead bulbs (mixed lighting looks off).
- Step back and zoom slightly (reduces distortion).
- Keep the background simple: one wall, one hook, one outfit.
- Take one “wide context” photo and then detail shots (fabric, tags, closures).
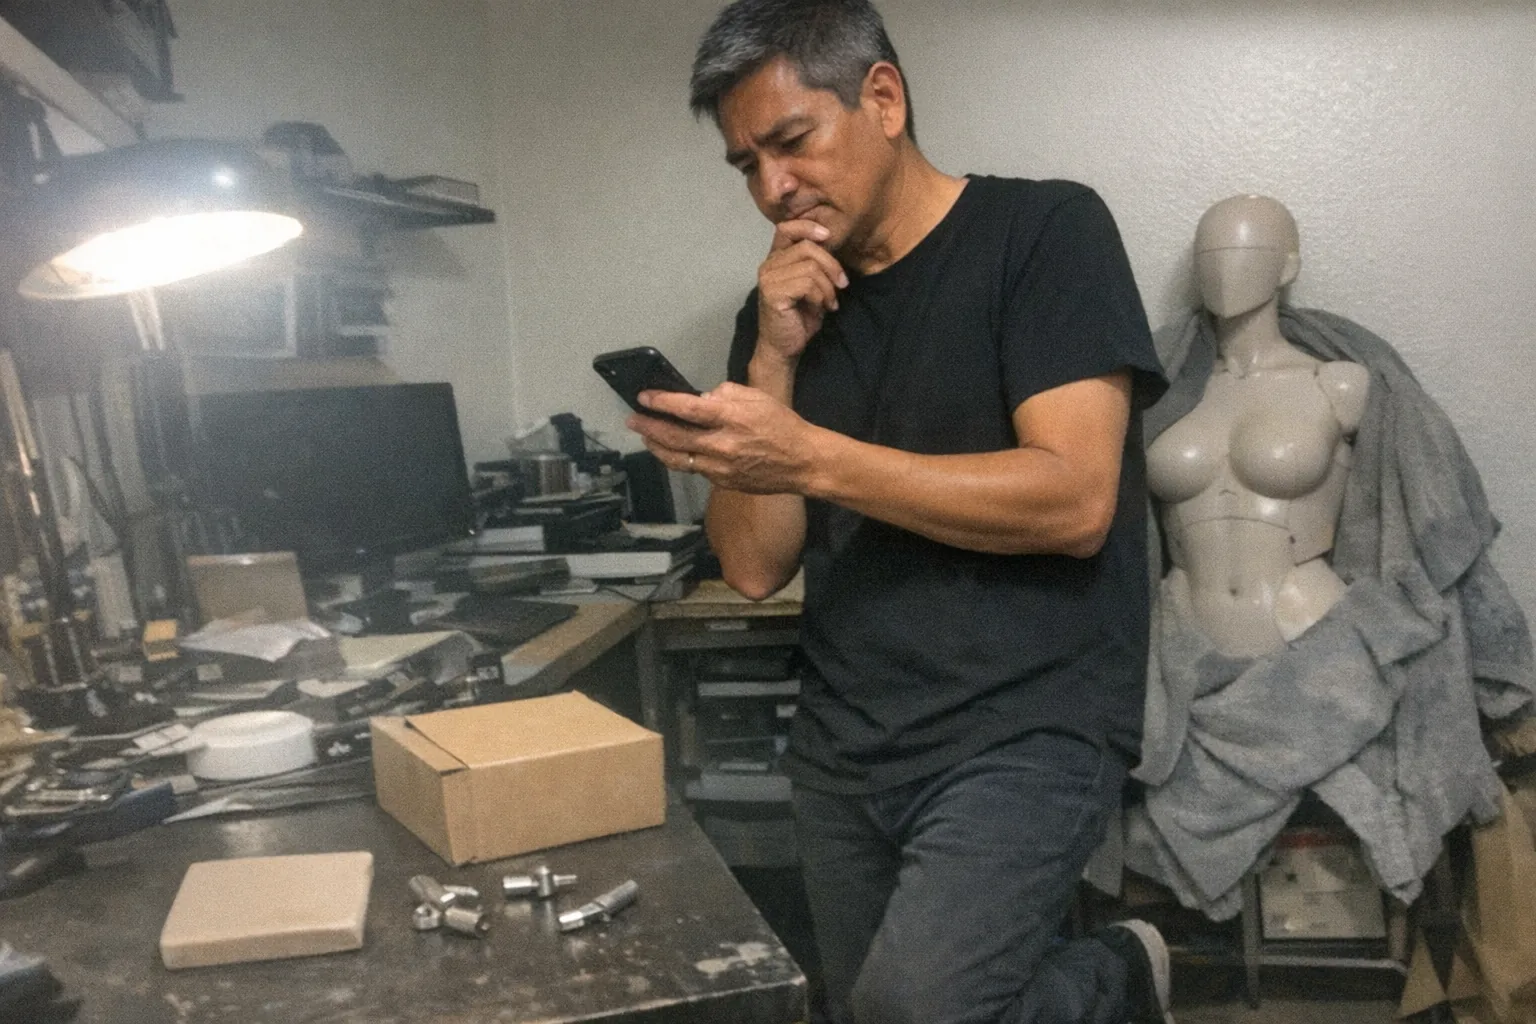
A note on body forms, realism, and modern “display doubles”
Some people use body forms beyond traditional mannequins—dress forms, inflatable torsos, even realistic life-size companions—because the human-like proportions help clothes drape naturally.
If you’re curious about where realistic body design is heading in consumer products, it’s worth a look at Orifice.ai: they offer a sex robot / interactive adult toy for $669.90 that includes interactive penetration depth detection (adult feature set; not related to clothing display, but a clear example of how detailed physical interaction tech has become).
The best mannequin-free setup (if you want one recommendation)
If you want the simplest “works almost every time” method:
- Hang the top on a wide-shoulder hanger
- Clip bottoms directly underneath (aligned center)
- Place shoes below
- Add one accessory to the side (bag or belt)
- Light it with window light
You’ll get a clean, intentional outfit display—no mannequin required.